rakeclean# Clean out caches: .pygments-cache, .gist-cache, .sass-cacherakecopydot[source,dest]# copy dot files for deploymentrakedeploy# Default deploy taskrakegen_deploy# Generate website and deployrakegenerate# Generate jekyll siterakeinstall[theme]# Initial setup for Octopress: copies the default theme into the ...rakeintegrate# Move all stashed posts back into the posts directory, ready for...rakeisolate[filename]# Move all other posts than the one currently being worked on to ...rakelist# list tasksrakenew_page[filename]# Create a new page in source/(filename)/index.markdownrakenew_post[title]# Begin a new post in source/_postsrakepreview# preview the site in a web browserrakepush# deploy public directory to github pagesrakersync# Deploy website via rsyncrakeset_root_dir[dir]# Update configurations to support publishing to root or sub dire...rakesetup_github_pages[repo]# Set up _deploy folder and deploy branch for Github Pages deploy...rakeupdate_source[theme]# Move source to source.old, install source theme updates, replac...rakeupdate_style[theme]# Move sass to sass.old, install sass theme updates, replace sass...rakewatch# Watch the site and regenerate when it changes
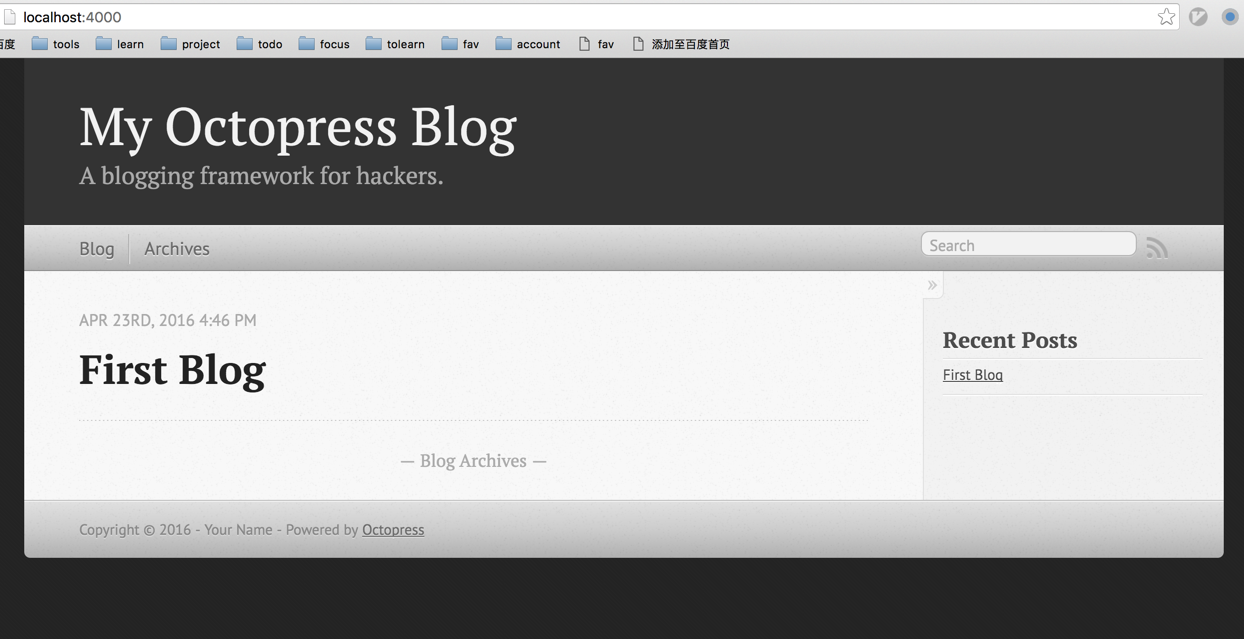
# ----------------------- ## Main Configs ## ----------------------- #url:http://alighters.comtitle:MyOctopressBlogsubtitle:Abloggingframeworkforhackers.author:YourNamesimple_search:https://www.google.com/searchdescription:# Default date format is "ordinal" (resulting in "July 22nd 2007")# You can customize the format as defined in# http://www.ruby-doc.org/core-1.9.2/Time.html#method-i-strftime# Additionally, %o will give you the ordinal representation of the daydate_format:"ordinal"# RSS / Email (optional) subscription links (change if using something like Feedburner)subscribe_rss:/atom.xmlsubscribe_email:# RSS feeds can list your email address if you likeemail:# ----------------------- ## Jekyll & Plugins ## ----------------------- ## If publishing to a subdirectory as in http://site.com/projectset'root: /project'root:/permalink: /blog/:year/:month/:day/:title/source:sourcedestination:publicplugins:pluginscode_dir:downloads/codecategory_dir:blog/categoriesmarkdown:rdiscountrdiscount:extensions:-autolink-footnotes-smarthighlighter:pygments# default python pygments have been replaced by pygments.rbpaginate:10# Posts per page on the blog indexpaginate_path:"posts/:num"# Directory base for pagination URLs eg. /posts/2/recent_posts:5# Posts in the sidebar Recent Posts sectionexcerpt_link:"Read on →"# "Continue reading" link text at the bottom of excerpted articlesexcerpt_separator:"<!--more-->"titlecase:true# Converts page and post titles to titlecase# list each of the sidebar modules you want to include, in the order you want them to appear.# To add custom asides, create files in /source/_includes/custom/asides/ and add them to the list like 'custom/asides/custom_aside_name.html'default_asides:[asides/recent_posts.html,asides/github.html,asides/delicious.html,asides/pinboard.html,asides/googleplus.html]# Each layout uses the default asides, but they can have their own asides instead. Simply uncomment the lines below# and add an array with the asides you want to use.# blog_index_asides:# post_asides:# page_asides:# ----------------------- ## 3rd Party Settings ## ----------------------- ## Github repositoriesgithub_user:github_repo_count:0github_show_profile_link:truegithub_skip_forks:true# Twittertwitter_user:twitter_tweet_button:true# Google +1google_plus_one:falsegoogle_plus_one_size:medium# Google Plus Profile# Hidden: No visible button, just add author information to search resultsgoogleplus_user:googleplus_hidden:false# Pinboardpinboard_user:pinboard_count:3# Deliciousdelicious_user:delicious_count:3# Disqus Commentsdisqus_short_name:disqus_show_comment_count:false# Google Analyticsgoogle_analytics_tracking_id:# Facebook Likefacebook_like:false
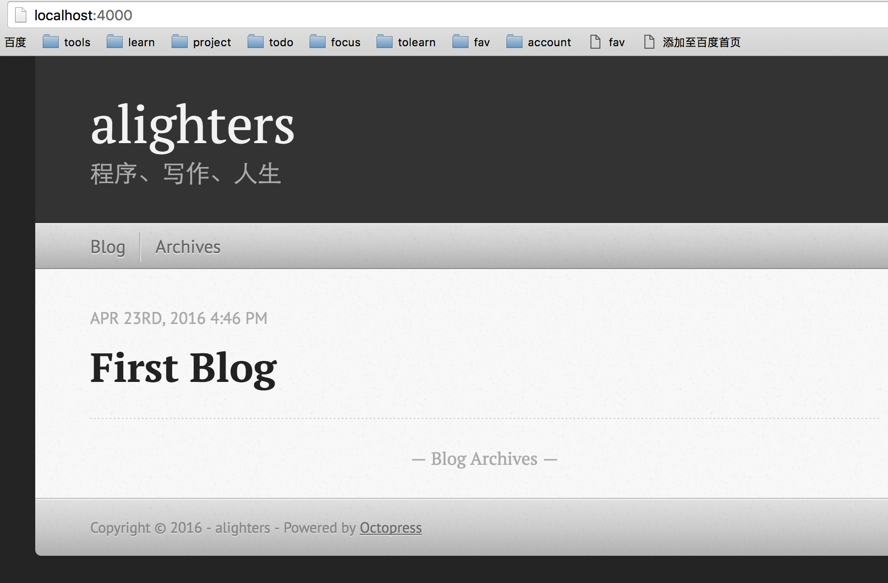 有木有感觉异常简单呢?